
It’s that time of year when our greenhouse is in full swing getting plants started for our season. We began seeding back in February our earliest spring crops and are now moving on to some of the summer classics like tomatoes, peppers, and eggplant.
This blog post will share some of our greenhouse basics. I LOVE talking about starting great transplants, so if anyone ever has any questions about it, please reach out!
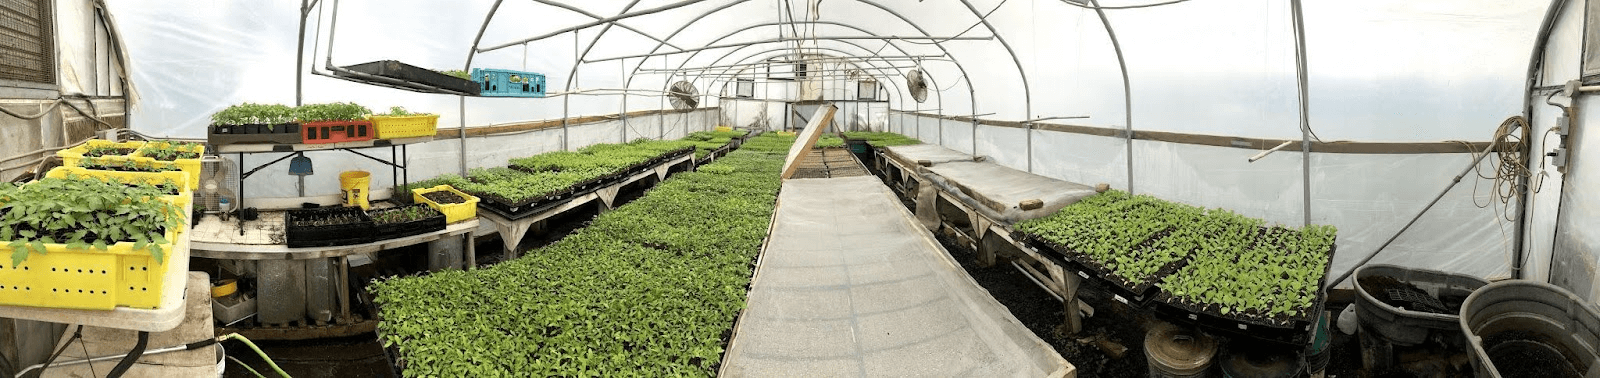
A little bit of background info on our greenhouse: It is 20’ wide x 48’ long, covered in two infrared, no drip, 6 mm plastic layers. We have 4 rows of 4’ x 10’ tables from Nolts Greenhouse supply. There is 1 exhaust fan, and 2 inside circulation fans. We have 2 tables for seeding, areas for storage, and a potting mix bench, which is actually an old sink from our wash station. Our greenhouse is heated with a Reznor heater mounted to the ceiling, and has 2 propane tanks. We use a frost free yard hydrant with town water. There are roll up sides and windows for more ventilation. We cover it with a 30% shade cloth in the summertime to reduce the temperature.
Greenhouse
We reuse all of our seeding trays and have sizes ranging from 288 (rarely used), 128s, 98s, 72s, and 50s. We use 32-cell perforated trays, 1206 perforated packs, and 4.5 square pots for our plant sale. We soak all of our trays in a tub with water and a splash of bleach before reusing them. We stack our trays in “L” shape inside of nestled directly within each other for ease of pulling them apart. It makes life SO much easier! If any trays are becoming a little broken, we will usually put two broken ones together to make one nice one again. The L shaped stacks also helps show if two trays are put together for a reason and they are making one tray instead of all getting stacked on top of each other. The trays soak for about 10 minutes before going into the greenhouse. I will give a list of trays needed for the seeding that week and have one of our crew members or myself go fetch them. We have tables right near the soaking tub so we can stage all the flats there ready to go.
Inside the greenhouse, we make all our own potting mix. One of the main components is compost that came from the township 10+ years ago. They used to drop all their compost at our farm and we had an enormous pile! We used to spread it on the fields, but since we don’t actively maintain it, it has tons of weeds on it and we figured we were just spreading weeds. Now we just use it for our potting mix. Chas, one of our apprentices, made our current compost sifter using three old bike tires. He removed the rubber and just used the bearings and metal rims and fabricated a cylindrical cage with both heavier duty fencing and then ¼” hardware cloth on the outside. We sift our compost into a big tub. In the wintertime, we move the sifted compost into the greenhouse so it won’t freeze.

Our compost sifter
A side note about compost. We learned the hard way that too hot of compost can steal nutrients from your seedlings! One year we used really fresh compost and then noticed all of our seedlings were stunted and behind. We ended up having to repot a lot of our transplants and topdress with our granular fertilizer to get them going again, so always make sure your compost is suitable for young seedlings!
The other main components of our potting mix are coconut coir blocks that are soaked and rehydrated, and coarse vermiculite. We also add basic nutrients like lime for calcium, greensand for potassium and micronutrients, Calphos Soft Rock Phosphate for phosphorus, kelp for potassium and micronutrients, bloodmeal for nitrogen, and beneficial microbial inoculant. Here’s the recipe. I believe the bucket is just a standard metal galvanized bucket, probably 10 quarts?
Our potting mix
3 buckets coconut coir
2 buckets coarse vermiculite
MIX WELL
½ Cup Hi-Cal Lime, fine (0-0-0-38)
1 Cup Greensand (0-0-3)
1 Cup Soft Rock Phosphate (CalPhos) (0-3-0-0-20)
1 Cup Kelp
1 Cup Bloodmeal (13-0-0)
.03 lbs. Inoculant Beneficial bacteria/fungi
MIX VERY WELL. It is important to make sure this stage is mixed really well so that all the nutrients are equally distributed!
3 buckets of Compost
MIX WELL
I believe this recipe was based on the basic one Eliot Coleman uses. We have used this recipe since the beginning of the farm. We are lucky to have the volunteer and staff labor to make this more time intensive choice viable on our farm. I was curious about switching to premade potting mix and here were the findings. I compared the Fort Vee mix from Vermont Compost Co. and grew tomatoes, squash, and cucumbers in both our mix and theirs in the same tray. I noticed that the Fort Vee made the plants grow green and fast quickly. Ours was much slower. But as the Fort Vee began to run out of nutrients, and those plants began to yellow a little, ours was just coming into full greening and for longer. We do not always have the ideal planting windows and sometimes our plants have to sit in their trays a little longer than ideal. I am happy with our mix, knowing that even if our plants have to sit for a little longer, they will have plenty of nutrients to get them through!
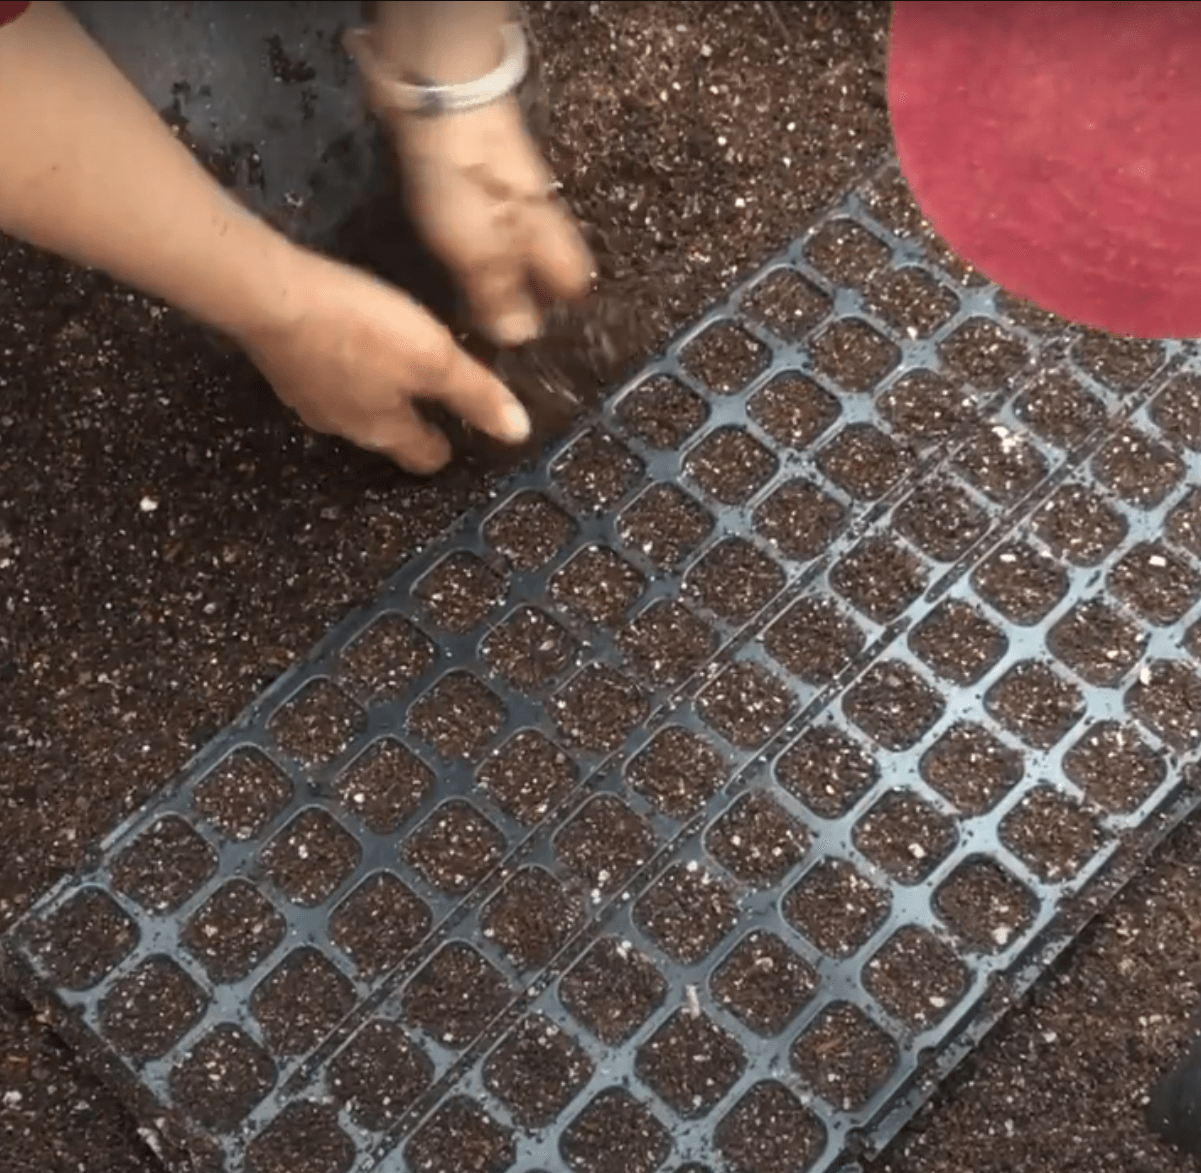
Once our potting mix is made, we’ll fill the flats and seed them either by hand or with the vacuum seeder. We cover our trays with a lighter mixture that is 1 bucket of fine vermiculite to ¾ bucket of potting mix. We find the lighter topping mixture helps curb dampening off. The flats go on our heat mats. I’ll adjust the heat mats’ temperature based on what kinds of things I have seeded. Because our heat mat controllers are not digital, I have a soil temperature probe that I test the soil with periodically to make sure the controllers are set to where I’d like them to be.
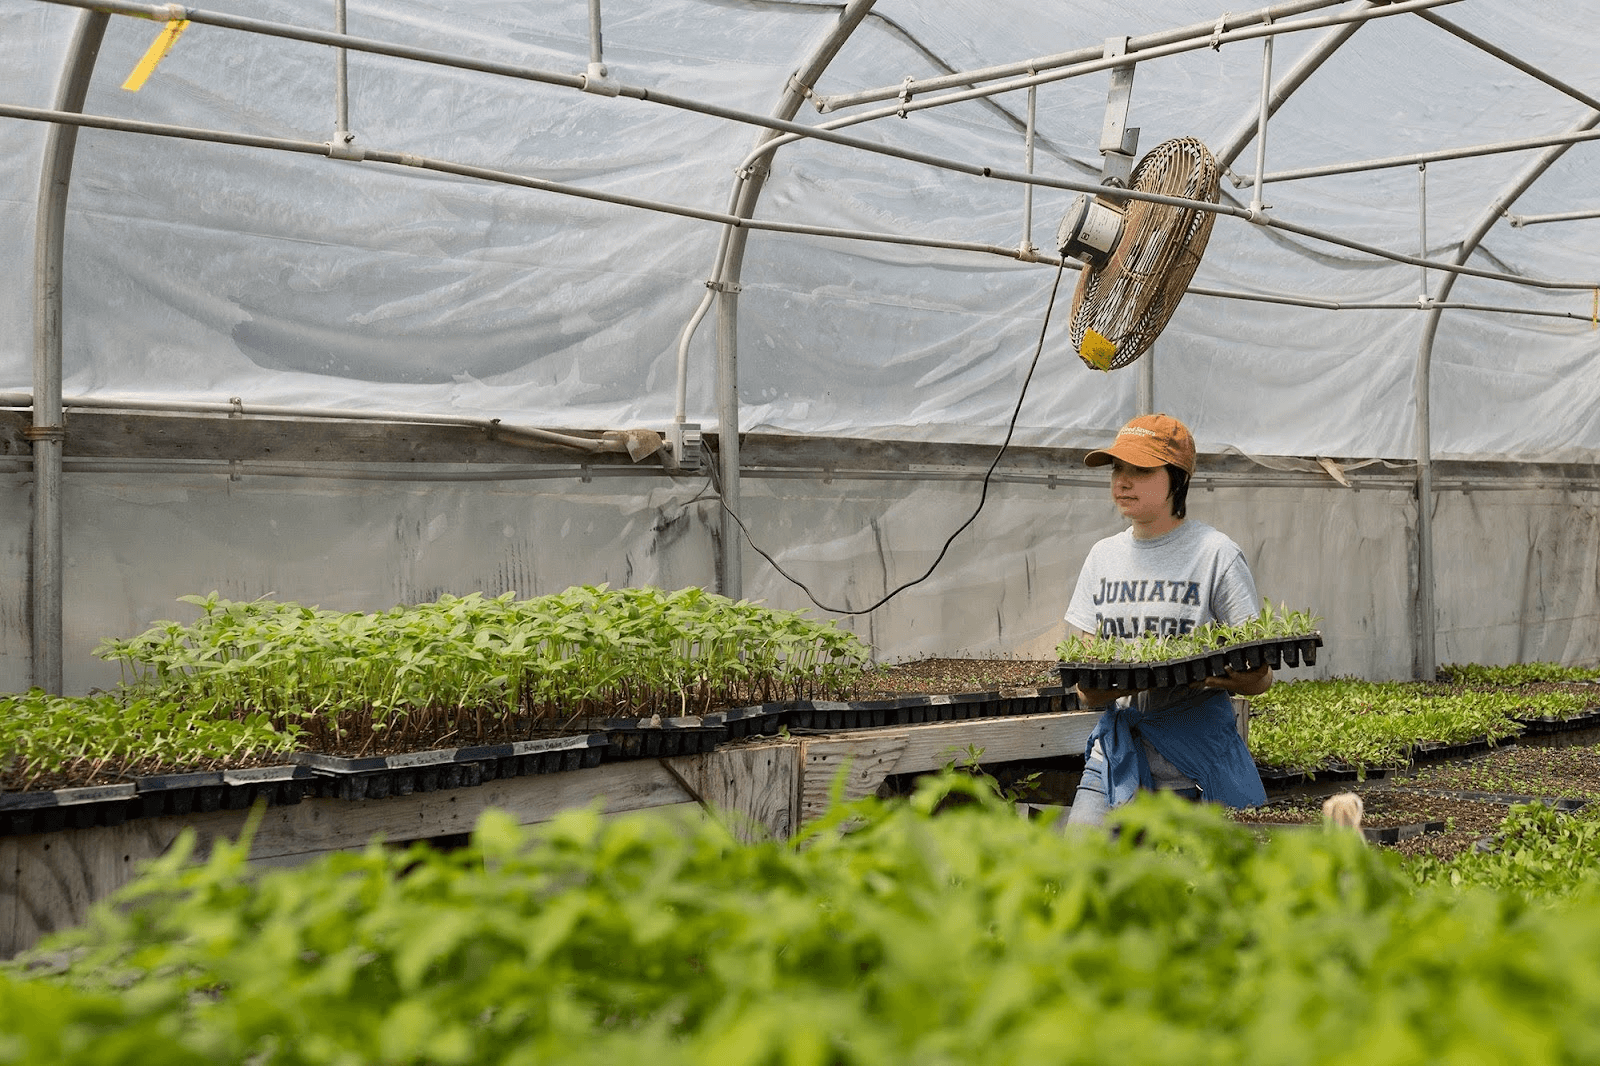
I control the temperature of the greenhouse by turning on the circulation fans, opening doors/windows as needed, and the exhaust fan if it reaches over 80 degrees. I have a little temperature reader that connects with an app on my phone, and it will notify me if the temperature goes over or under my designated temperature range. This is super great so that I can monitor the greenhouse temperature from anywhere! The fans are also important to build strong stems. I make sure the fan is pointing towards the plants so they can get used to that wind before they head outside.
I check water around 9:15 AM, 12 Noon, and 3:30 PM. I don’t necessarily water at all of those times, but I like to check on things. My rule of thumb is water more frequently when things are small, and as things get bigger water less frequently but more deeply. Some of my bigger plants will only get watered once a day before 12 noon. Overwatering can be just as detrimental as underwatering! I take care to switch up my watering habits so the plants don’t just have one watering pattern. I tend to pay more attention to tray edges where they dry out faster because of more air flow and sunlight, to prevent any pillowing. Pillowing is where the tray looks like a puffed up pillow if you look from the side because the edge plants are smaller and the middle ones are taller, like a domed effect.
If you read our previous week’s blog post about ABAA CABDIABRA, I use watering as an opportunity to always be assessing always. It’s easy to want to rush through it, but I like to slow down as I water and scout for pests or take note of any fertility problems.
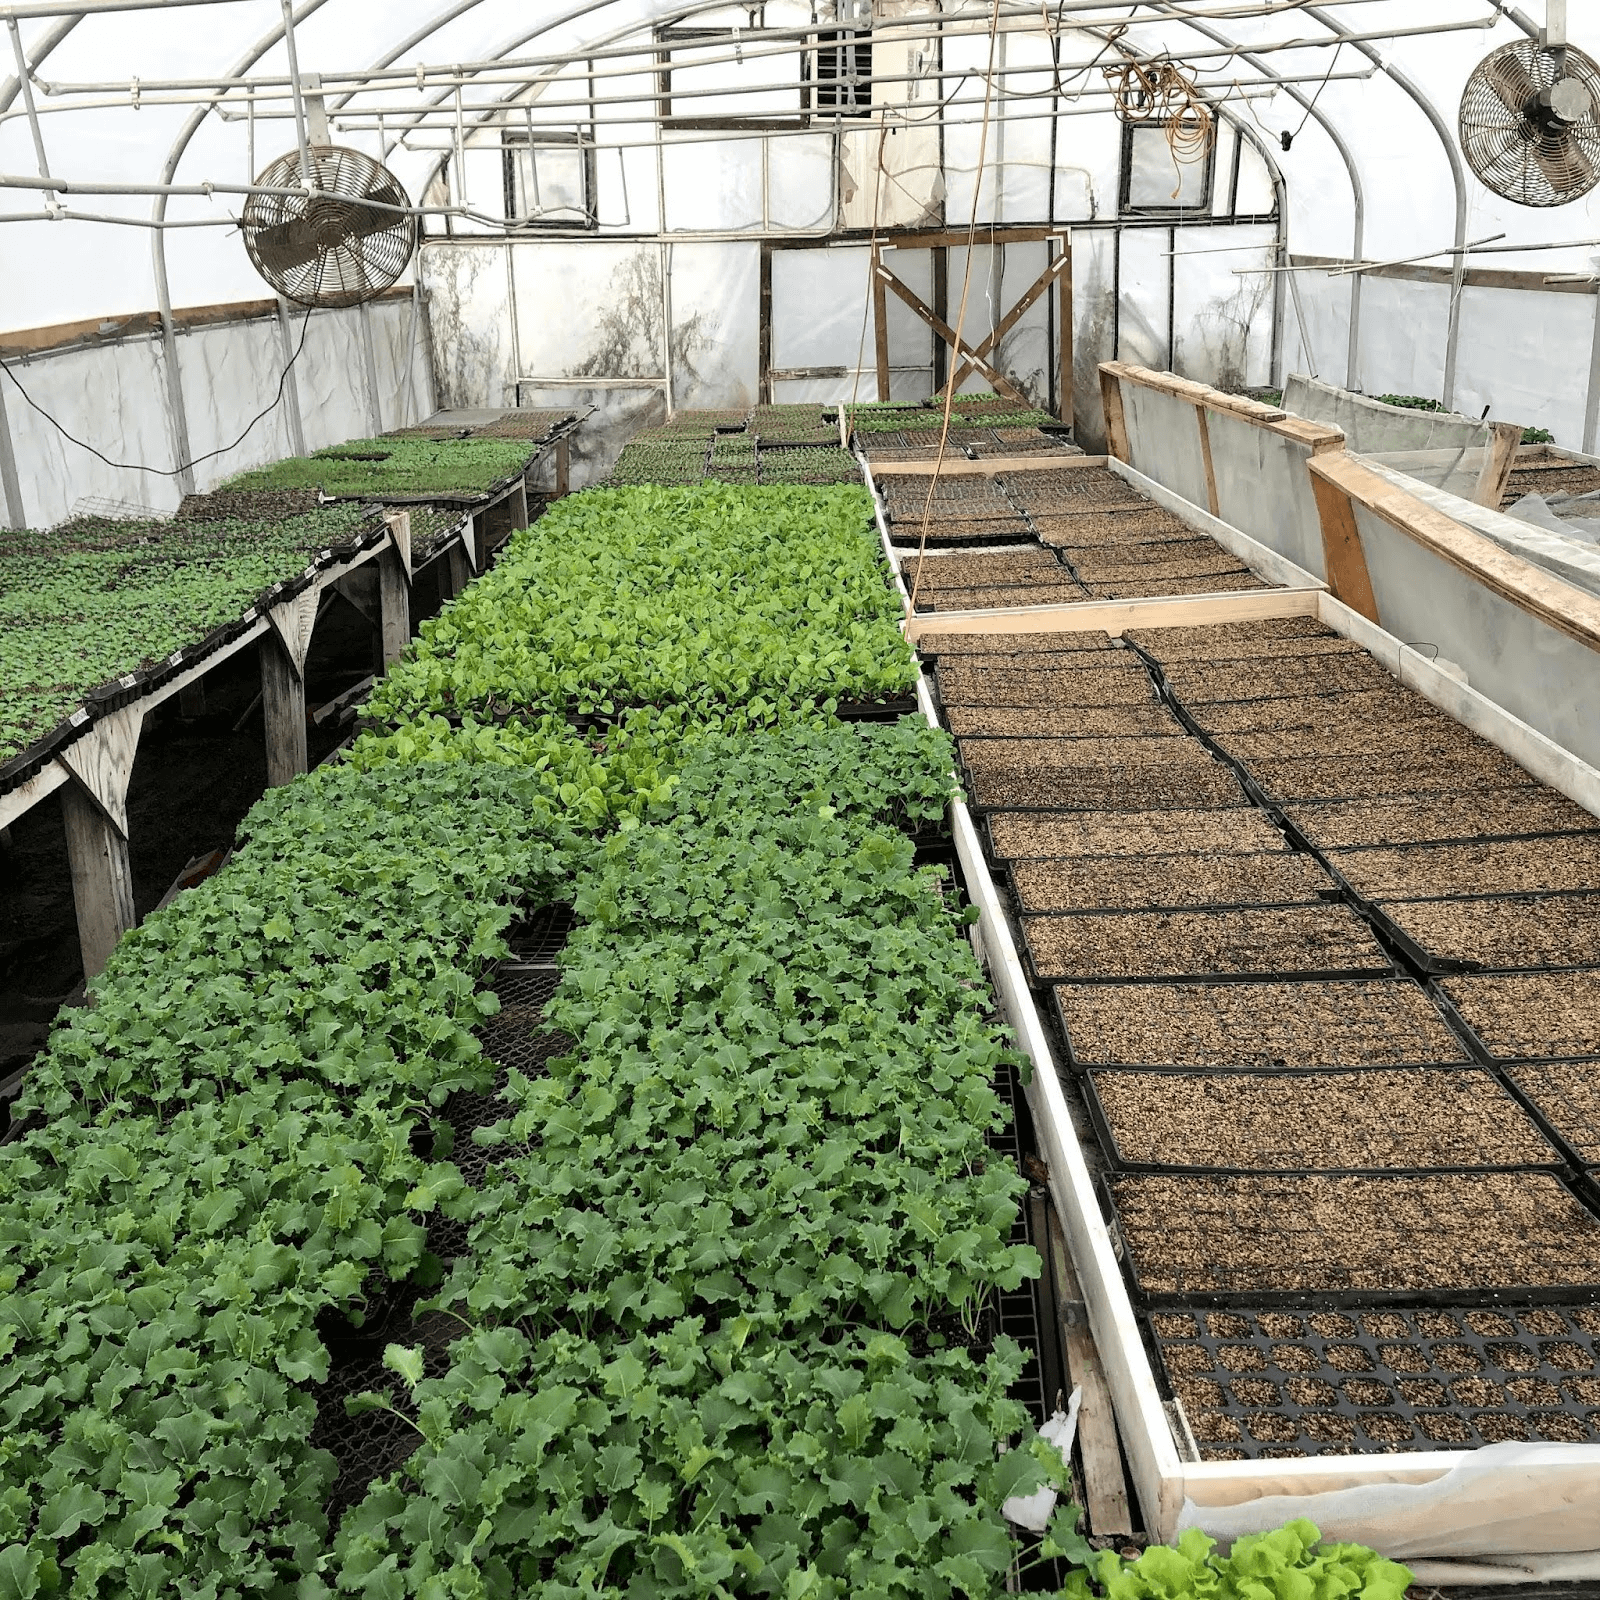
The other thing I like to maintain in the greenhouse is a good seed tray flow throughout the space. The right side is always for newly seeded trays on the heat mats for half the season and also after they are cleaned up. Once the plants germinate I move them to their final location in a different part of the greenhouse. I have areas I like to put more important crops, usually towards the front and optimally in front of the fans. Easier crops like lettuce, radicchio, sorrel, fennel can go towards the back and don’t need the wind on them as much as spring chard or brassicas. I like to make sure any of my plants in the chenopod family, like chard and beets, are always right in front of the fan to provide them with more air flow to lessen the risk of damping off. In the wintertime, the heater blows the warm air to the front, and it can be warmer there so my nightshades stay towards the front. Get to know your greenhouse, and how different spots in it may have different tendencies!