


This week on the farm we’re preparing to seed some of the first crops of the year! The first thing we’ll plant is early carrots in our hoophouse for market and first CSA pickups. In order to flip the bed, we made sure to completely harvest all the rest of the tatsoi and bok choi that was in the bed for CSA this week. Then we took a fine leaf rake to rake all the plant debris, old leaves etc. That gets picked up and put into the compost. After the bed is cleared, we go through with a wheel hoe to loosen all the tatsoi and bok choi root balls up. We’ll then take an iron rake and rake out those big clumps to put them in the compost. We prefer to use regular pitchforks to fork and loosen our beds, so we’ll go through and fork the whole bed. It’s usually pretty easy because we have been broadforking these beds for years now and we just did it in the fall to prepare the tatsoi beds. Once it’s totally forked, we’ll go through again with iron rakes to rake it all smooth. We grabbed a scoop of our township leaf mulch compost pile that has been sitting on the farm for 10 years or so, and rake it into the bed.
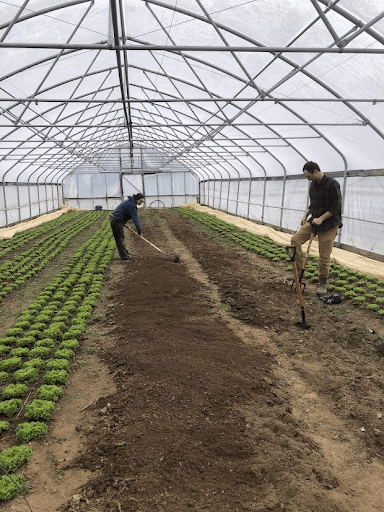
Flipping beds for carrots
Next week we will be planting Napoli carrots in this bed. We’ll use the Y12 roller with the Jang Seeder and probably plant rows 6-8” apart.
The other seeding we are preparing for is the first greenhouse seeding! In order to get the prop house ready to go for the year, we take diligent steps to clean and sanitize it. The first thing we worked on was scooping, scraping, and sweeping up all the fallen potting mix and field dirt that falls on the floor from curing our sweet potatoes. We have landscape fabric down on the floor and that makes it very easy to scoop the dirt and sweep until it’s totally clean. Our tables get a good sweeping, and we clean up any leftover trash, or old materials that we don’t need for the next season.
Everything comes out of the prop house, and then we go through with a bleach solution and backpack spray the floors and tables thoroughly. I will also remove any old potting soil and toss it in our herb beds. We’ll sanitize any bins or buckets we use to make potting soil.
Over the last few weeks we have been repairing our “mouse boxes”. These are wooden frame boxes that have fine metal screen stapled to one side. We use two boxes to form a clamshell, one goes with the screen side down on the heat mats and the other is placed screen side up over top of the flats so no mice can get in and disturb recently seeded flats. We had to replace some of the wood and screens on some of the boxes, so we got them all back to ship shape.
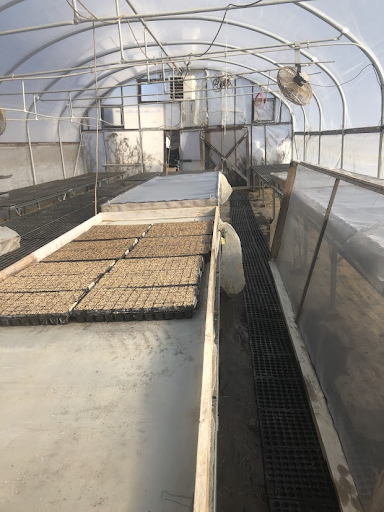
Mouse boxes
You can see our mouse boxes in use here, the top box is removed for the daytime, and will be replaced for the night.
Another item we need to prepare is all of our potting mix ingredients, most importantly going to fetch scoops of compost from our big pile and getting some sifted. In the wintertime, the compost pile can freeze or be covered under snow. I took advantage of the warm spell earlier this week to go fetch a bunch of scoops to bring to our pile in front of our prop house. It’s also important to sift our compost when it is warm out as that smaller pile can also freeze. Our sifter was made by one of our apprentices, and is made out of three old bicycle tire frames. He fashioned a cylinder out of thicker wire fencing and then covered with ¼” hardware cloth. As we sift the compost, we will move it into the tub that lives in our greenhouse to keep it thawed out and ready to use. Once the weather turns warm, we will keep the sifted compost outside.
The last thing we will do to get ready for seeding is to set up our heat mats. We use the Agritape heat mats with Kenbar controllers. We lay out the double bubble insulation foil down first, then the heat mats. We cover them with two layers of greenhouse plastic to protect them from water. We used to fully enclose them between the greenhouse plastic, but they kept shorting out due to moisture building up between the layers. One of our first apprentices Chelsea helped me troubleshoot this problem, and we came up with the solution of just laying two layers overtop and folding a few inches around and underneath. We hold the plastic in place with binder clips! Since then, we have had better luck with them shorting out.
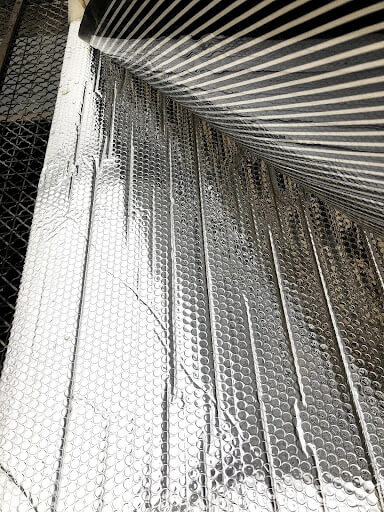
Step 1: Lay out insulation foil and heat mat on top
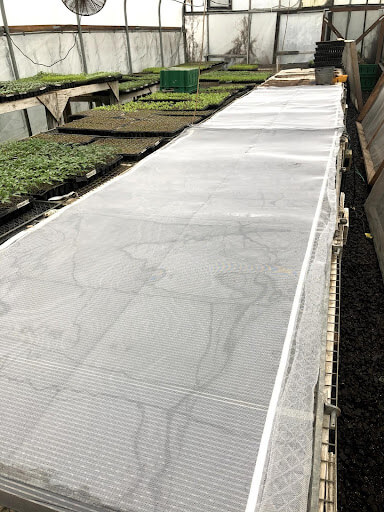
Step 2: Connect the grounding screen. Overlapping the screen between multiple heat mats helps them from building static electricity that can also short them out.
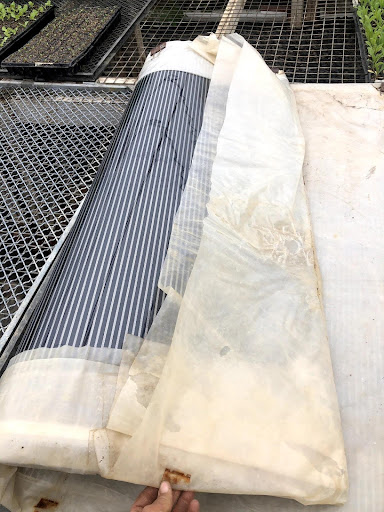
Step 3: Folding around the plastic just a little underneath and all the way across the top.
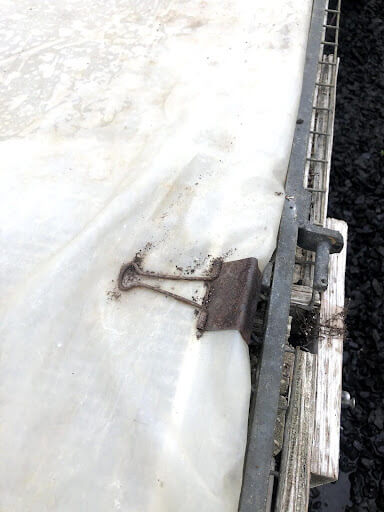
Step 4: Using trusty binder clips to hold the plastic in place.
I’ll go on a side tangent here about the system we used to use for heating the flats. We used to have the Delta T hot water tube closed system that used a hot water heater in the greenhouse to heat water, push the hot water down the tubes that ran all the way down the length of the benches, and then returned to cold water to the tank to be rewarmed. The benefits of this system was that it was completely water proof and you could place the flats right on it and not have to worry about heat mats shorting out. However, there were significant drawbacks. Number one was the system was only used seasonally. When our seeding was done for the year, the water heater would be drained because we let our prop house freeze to kill off pests and disease. Our town water is quite hard and has lots of calcium in it, and the water heater sitting empty would deteriorate in those conditions. Replacing a water heater is expensive and difficult. It also took up a lot of space in our already too small greenhouse. The entire corner had this huge hot water heater, expansion tank, pressure gauges, and pvc pipes. Every year something would not have been drained correctly and parts would freeze and break. The other thing is that if the pressure dropped for any reason, the water would not circulate and you’d lose time when flats should have been receiving heat. My belief is that these systems thrive when they are in constant use, enclosed in a warm environment, and when there is ample room for the equipment needed. So that’s a little about that!

The Delta T tubing down the bench
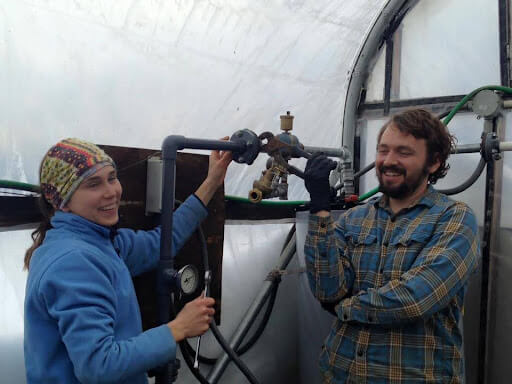
In 2014, Farm manager at the time Devin and then apprentice (now current farm manager) Kirstie fixing and replacing the broken water heater!
Otherwise, we are ready for seeding our first crops next week including celery and some greens for our hoophouses for early markets!